People have been learning how to type since the late 1800s when typing classes were first developed for court stenographers and other professionals using typewriters. The practice has certainly come a long way since then and there are more than a few new keys that have been added (delete for example!).
However, mastering the basics of correct hand and finger positioning has generally remained the same. That’s because touch-typing is about automatizing a set of muscles and training your fingers to type the letters you need to spell English words on the QWERTY keyboard. The more you practice with common key and letter sequences, the easier they will become.
Many students and working professionals know how to touch-type. For individuals who come into daily contact with a keyboard it is an important skill to acquire as typing can increase your productivity and enhance your focus on the content of your writing.
If you’ve decided to learn typing you may have a goal in mind: improve your speed, make less mistakes, get a better score on your next exam or even add typing to your CV to attract a new employer. But it’s likely you already have some keyboard experience logged and this can become an unforeseen obstacle when it comes to acquiring typing skills.
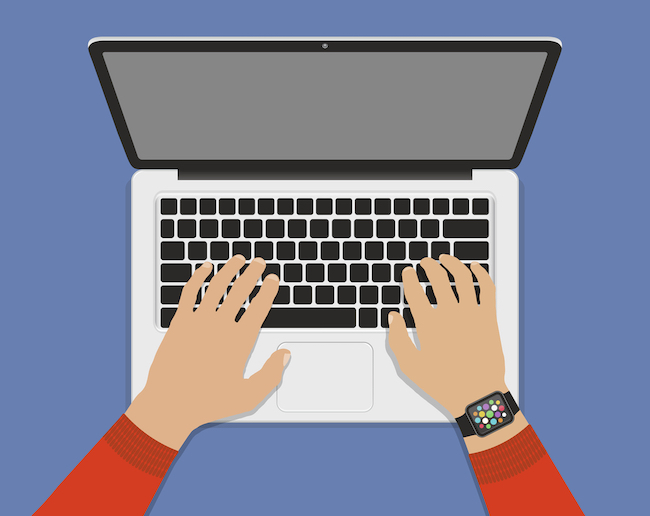
Two-finger typing, referred to as the hunt-and-peck method, needs to be unlearned. You do this by mastering the home row keys, which guide your fingers into position, and drilling common English words and letter combinations until you override previous patterns. It takes time and can be slow-going in the beginning, but eventually you’ll find you are faster and make fewer mistakes if you touch-type.
Selecting a course
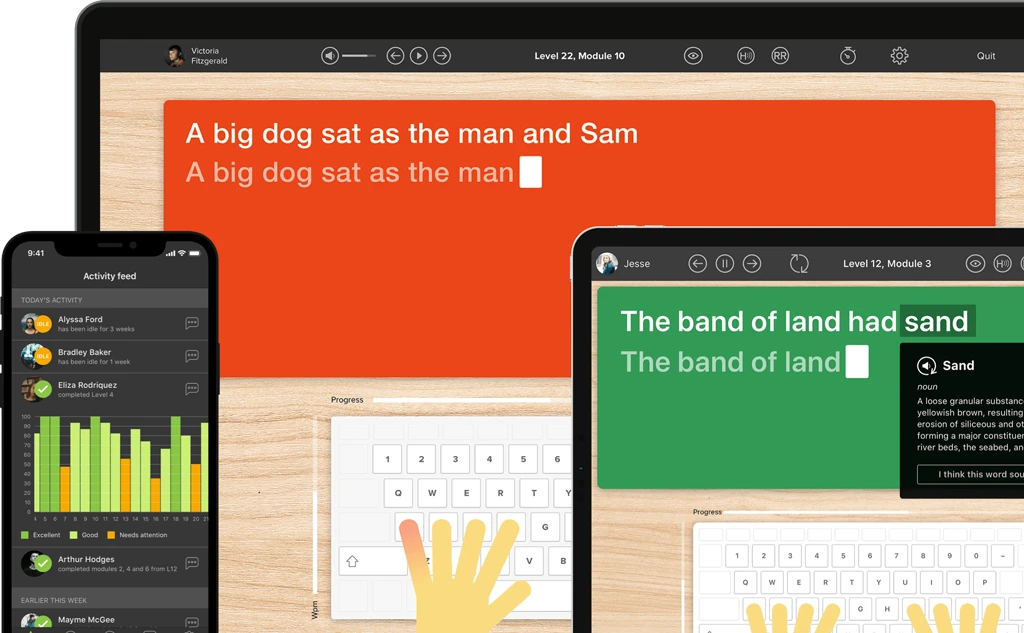
Fortunately technology today has allowed keyboarding courses to improve upon earlier methods. Learners hear words, see letters on the screen and receive guidance via a set of animated hands that indicate which keys to type with which fingers. You can type on desktops, laptops and even tablets with Bluetooth keyboard attachments.
Unlike a typewriter, a computer measures progress and shows results, both in terms of accuracy and speed. It also enables you to follow a self-directed program, completing drills as you have time and feel you are ready to move on to new challenges. The best courses allow users to customize their approach and turn features on and off as their typing skills improve.
In selecting a course, consider the amount of time you have to dedicate and if you want a program with games or something that’s broken up into lessons. Sometimes bite-size modules can be just the ticket if you have a busy schedule and will only be able to work through a handful at one sitting. That’s because they allow you to review what you’ve already covered and carry on making progress one module at a time. Others may be looking for a typing solution with plenty of graphics that appeal to younger learners or a more grown-up interface that can be used for young-adults as a literacy solution.

Learning the home row keys
The middle row of a QWERTY keyboard has two raised bumps on the F and J keys. These will help you orient yourself to the home row keys, which is where you should rest your fingers when you aren’t typing. You can feel around for them instead of looking to get out of the habit of using your eyes as a guide. From the home row position, you will learn to use each finger to reach a set of keys in its vicinity.
Completing the basics
Once you’ve mastered all of the keys, there are formatting nuances to work on, including capitalization and punctuation. Numbers can be learned as well as any other symbols you commonly use. You may also want to look up shortcuts based on the kind of device you are using. Mac and PCs can differ in this respect. Read more tips for beginners.
When, where and how often to practice
Practice when you can.
There is no optimal time of day to practice your typing skills. Some people prefer mornings and others feel more comfortable fitting it in at night when they can concentrate on the task at hand.
Where you practice is less important than your posture.
Slouching or hunching over your keyboard can do long-term damage to your body and should be avoided at all costs. You should strive to keep your arms bent at a 90-degree angle with a keyboard raised enough to prevent the wrists from bearing weight.
Have several sessions a week.
The more regularly you engage with a typing course, the faster you will pick up the skill. That’s because the muscles in your hand need regular training to automatize the movements.
Keep sessions between 20 minutes and 1 hour.
At any less than 20 minutes, you don’t really have enough time to get into the task of learning typing and sitting too long at the keyboard can be a health risk.
Getting started
- Make sure your keyboard is comfortable. You should be able to reach all of the keys without straining. Some people have bigger or smaller sized hands; use a keyboard that suits you. Children aged 6-7 should wait until their hands can sit comfortably on a keyboard before beginning typing lessons.
- Set yourself a goal to work towards. Learning to type doesn’t happen overnight, no matter how dedicated you are. That’s why it’s important to set reasonable and attainable goals. Your first goal should be to learn all of the keys. Once this has been achieved, focus on enhancing accuracy, and lastly, building up speed.
- Keep your eyes on the screen. The basic principle of touch-typing is that it is done using your sense of touch and not your eyes. If you have trouble keeping your eyes off of the keyboard, try covering your hands with a dish-towel. You can also cover the letters on your keyboard with stickers. Just remember this last tip will make it hard for anyone who can’t touch-type to use your computer in the future!
Touch-type Read and Spell
Touch-type Read and Spell teaches typing via an English phonics course that will strengthen your reading and spelling skills at the same time. It also takes a dyslexia-friendly and multi-sensory approach, which can make it easier for individuals with specific learning difficulties or physical impairments to use.
Discover the TTRS approach to typing!
Both children and adults can use TTRS to learn how to type.